Muscle signal sensor EMG Sensor for Arduino – Alannabi electronics
QR110.00
DESCRIPTION
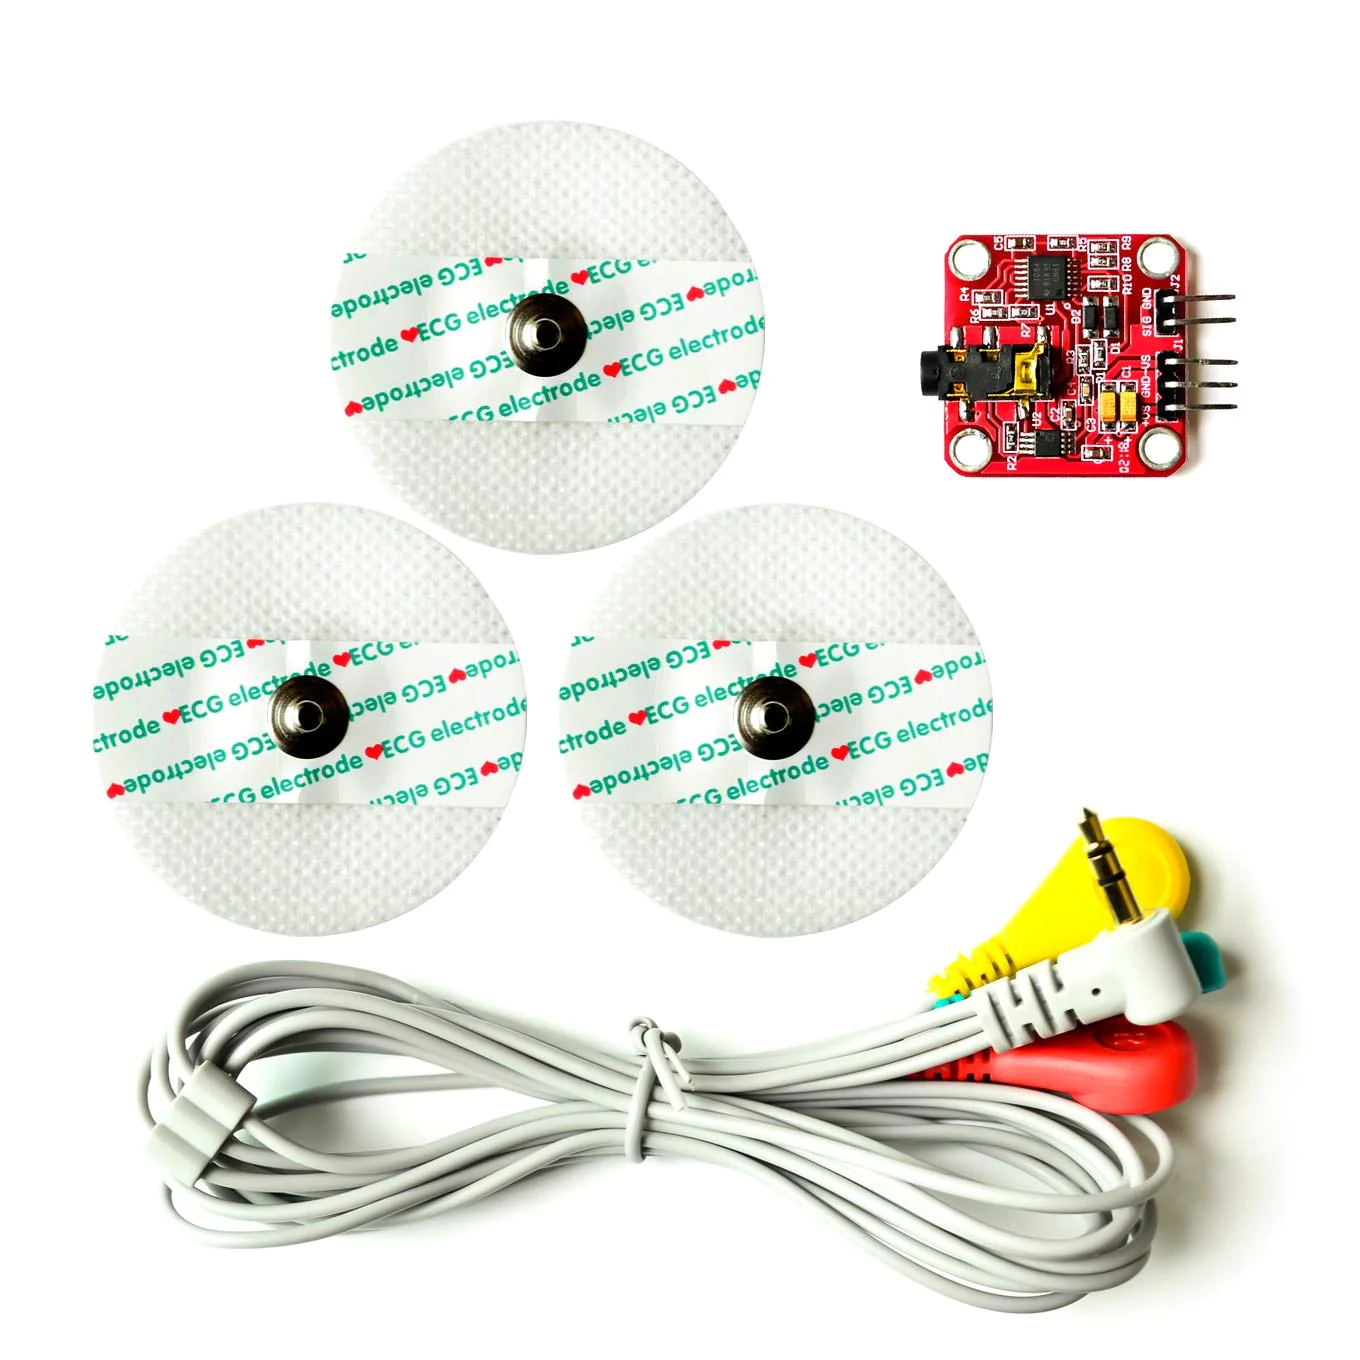
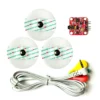
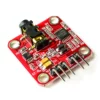
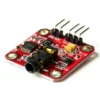
EMG Muscle Sensor Module With Cable And Electrodes will measure the filtered and rectified electrical activity of a muscle; outputting 0-Vs Volts depending the amount of activity in the selected muscle, where Vs signifies the voltage of the power source. Power supply voltage: min. +-3.5V.By detecting the electromyogram (EMG), measuring muscle activity has traditionally been used in medical research, however with shrinking but more powerful microcontrollers and integrated circuits advent EMG power Road and sensors can be used for various control systems.
This Muscle Sensor measures, filters, rectifies, and amplifies the electrical activity of a muscle and produces an analogue output signal that can easily be read by a microcontroller, enabling novel, muscle-controlled interfaces for your projects.
Specifications & Features :
- Improved adjustable gain (more rugged)
- Onboard port for new cables Connects to the board straight out of the box
- Power Supply : Normally ±9V dual power supply, minimum voltage is ±3.5V
- Supported with Arduino, Breadboard mountable
- Small Form Factor
- Specially Designed For Microcontrollers
- 5mm Connector
- Audio-style plug : 3.5 mm jack
- Diameter of Electrode Pad: 52 mm
- Cable Length: 2 feet
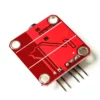
- Dimension of Module : 33.5 x 26 x 12 mm
- Weight: 30gm.
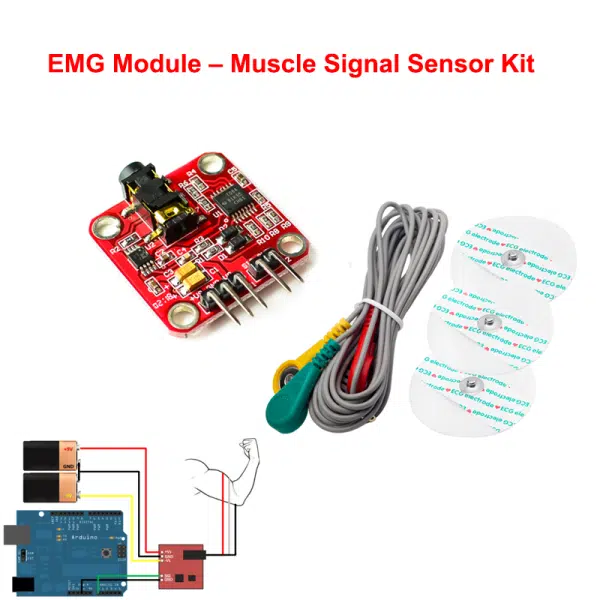
Wiring Instructions:-
- To use this sensor, the user must have three electrodes connected to the subject’s body.
- The reference electrode should be placed on an inactive section of the body, such as the bony portion of the elbow, shin or forearm. This electrode should be connected to the black or brown cable.
- The two other electrodes should be placed along the muscle selected to be measured. The second electrode should be placed along the mid-length of the muscle; this electrode should be connected to the red cable.
- The last electrode should be placed at the end of the muscle and connected to the blue cable.
- Finally, connect pin SIG to an analogue input pin of your microcontroller and the GND pin to the ground pin on your microcontroller.
Only logged in customers who have purchased this product may leave a review.








Reviews
There are no reviews yet.